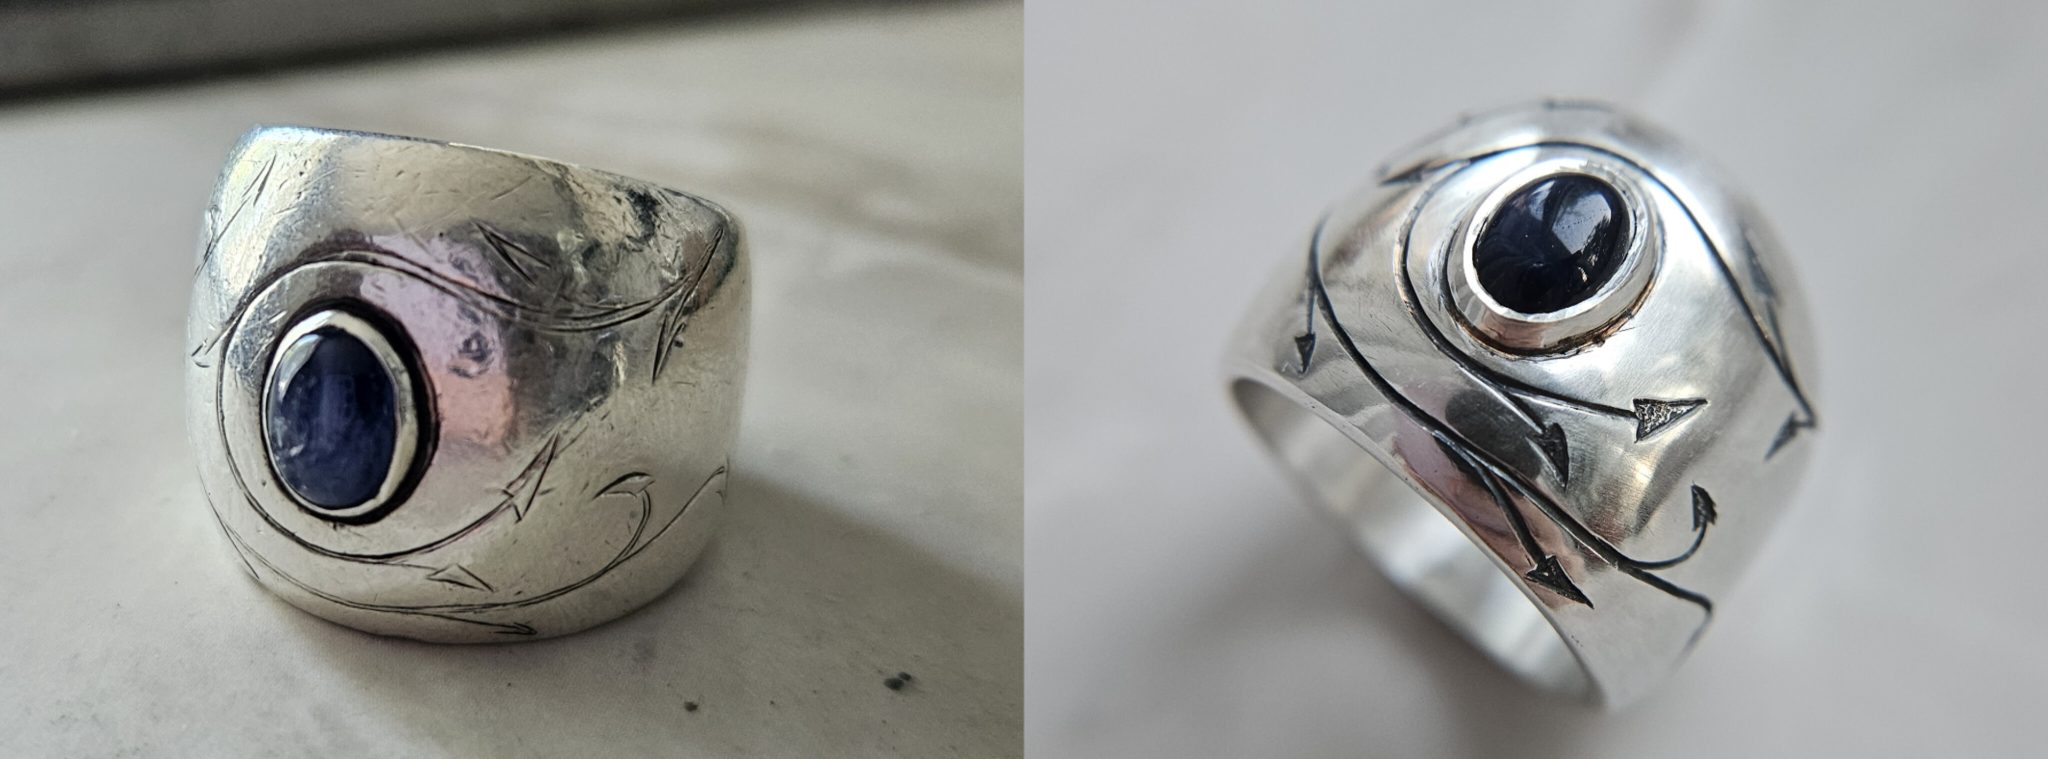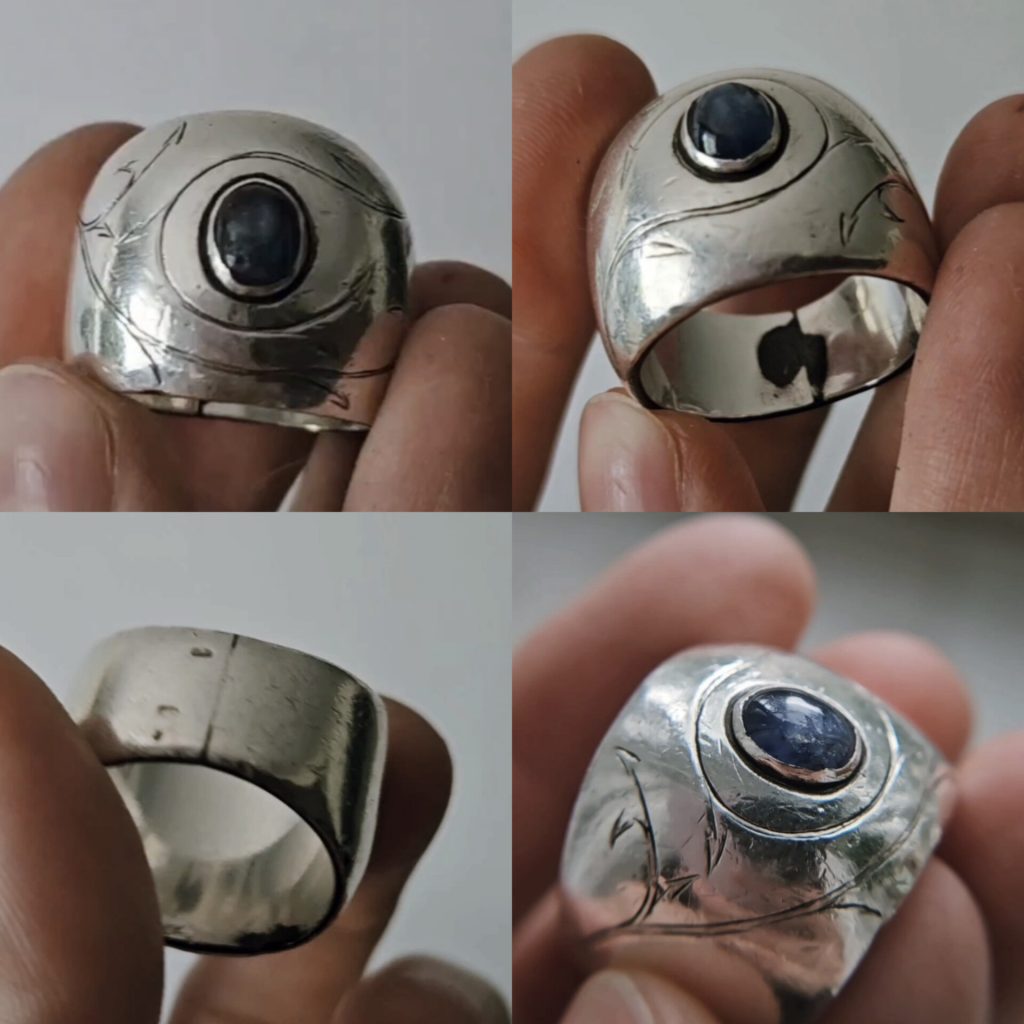
Not so long ago a friend saw that I was dabbling with engraving and asked me to make some improvements to the engravings on an old ring of his. He’d worn this ring for 10 years, it was custom made and it wasn’t in its best shape. To be honest, it never was in its best shape to begin with. The friend told me that he wasn’t entirely happy with the ring initially, and I also saw that there were some structural imperfections. But the ring was thick and sturdy, and I knew it had more potential, so I went all in.
Here are the flaws that I saw at once: very shallow and imprecise engraving, poorly soldered seam in the back and a very flimsy bezel surrounding the stone – thin and uneven. Besides, the sapphire had been chipped from impact.
Initially the plan was only to redo the engraving, but by pure coincidence I happened to have a star sapphire of the perfect size in my stash, so I offered to replace the stone as well.
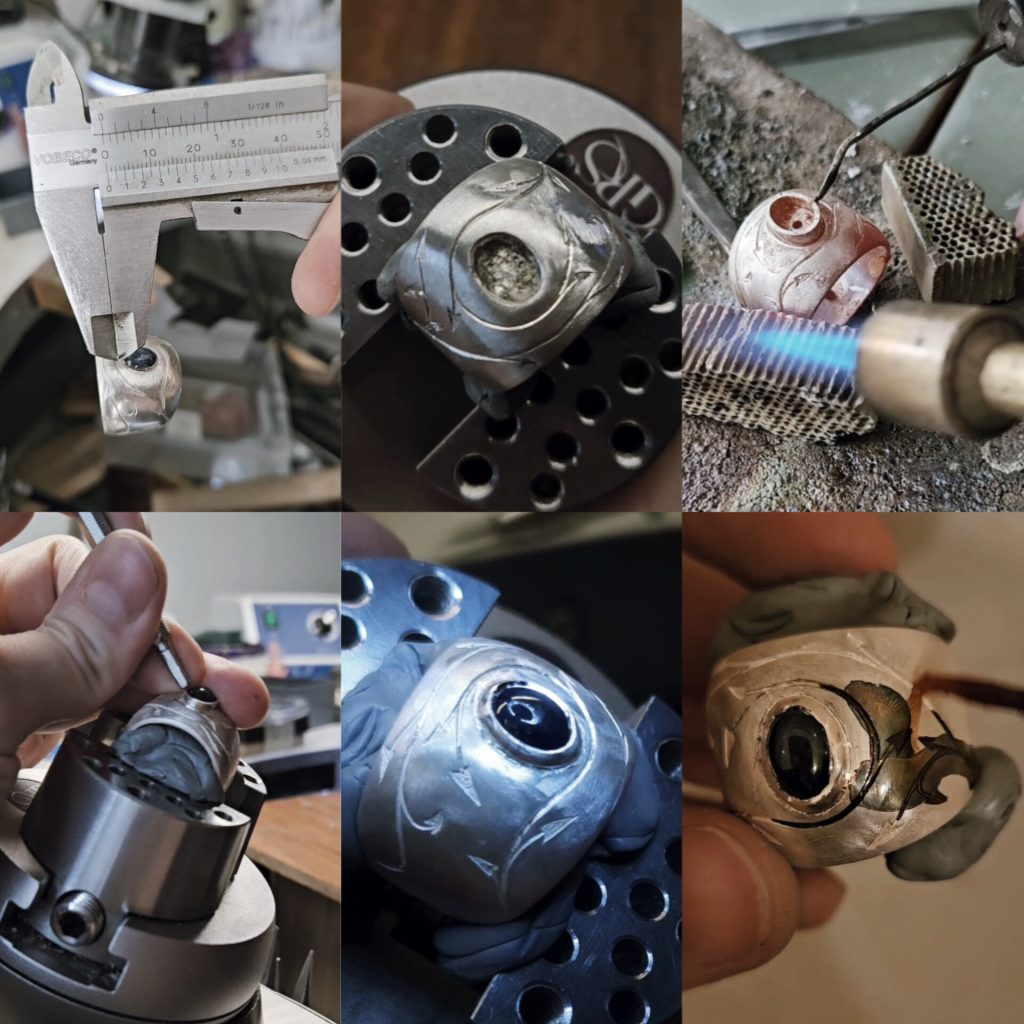
I started by annealing the ring with the old stone still in place. While I was doing that, the stone started fuming and moving, and it turned out that it was only held in place with glue (supposedly epoxy). What a naughty jeweler. I proceeded to remove the old bezel, which came off very easily – it was only 0.15 mm thick. For comparison, I generally use 0.7-0.8 mm bezels for sterling silver. This is important to keep the stone safely in place and make it look good as well.
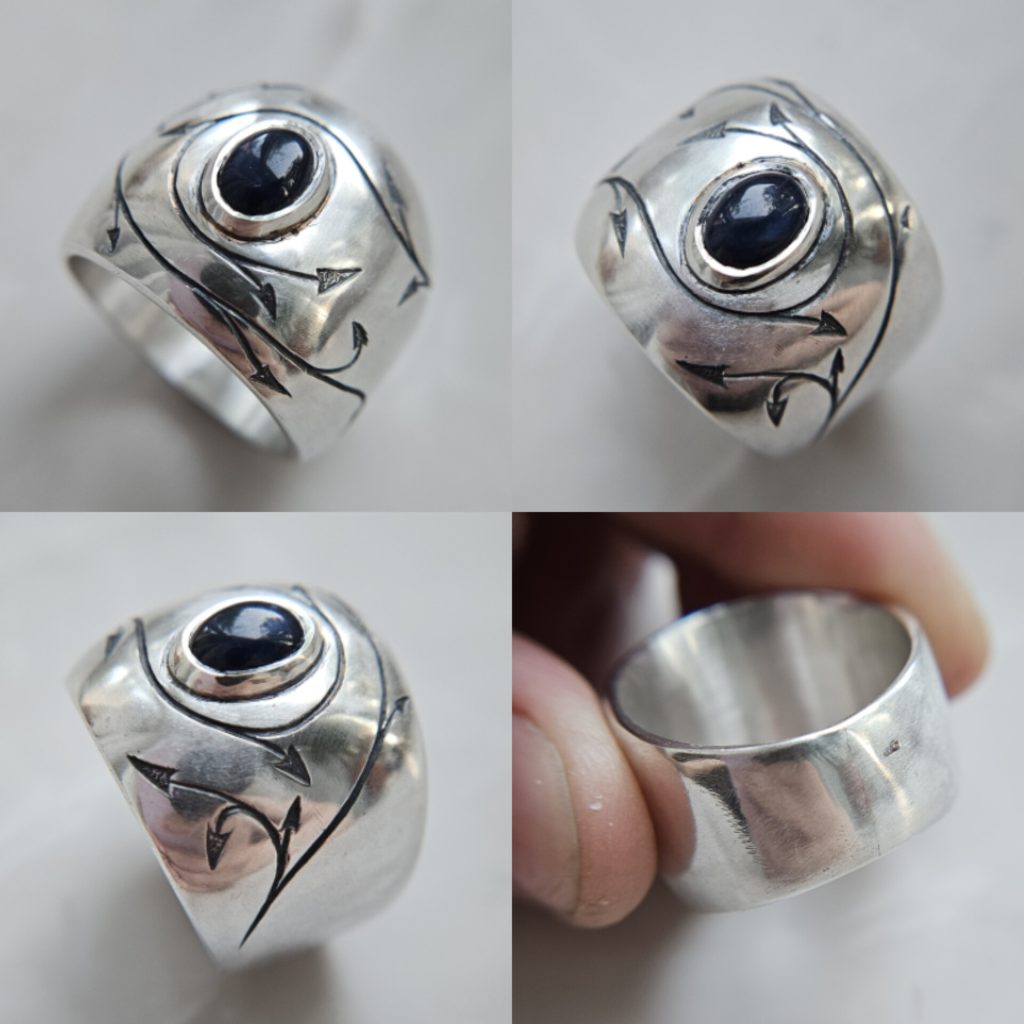
Once I had deepened the engravings and added definition to the arrows, I soldered in a new bezel, added some solder to the back seam, oxidized the ring and set the replacement stone. No glue this time 😉 While there are certain cases where epoxy becomes a friend and prevents a stone from getting damaged, I believe it is the duty of every jeweler to depend primarily on their stone setting skills and the strength of metal. After all, glue may change and weaken over time, but a thick piece of metal holding down a stone will last much longer.
Finally, I did some bright cutting on the bezel. Bright cutting is when you remove a very thin top layer off the bezel with a sharp graver to create a mirror finish. It always brings out the colour and shine of a stone when done right. The old bezel had zero thickness for that.
My friend and I were pleased with the outcome. While I’m not entirely happy with the base of my new bezel and the back seam is still somewhat visible, I do think that the ring has improved a lot, and with the new stone in place and the back seam reinforced it will remain wearable for a few more years to come.


